Installation
To use the functions of the DO-1 properly, the universal monitor must be connected correctly. The DO-1 is operated via a web-based user interface. This section explains all the necessary information for installing the device and the software.
DO-1 Device Installation
Network Connection and Power Requirements
The DO-1 must be added to the network via a LAN connection. To do this, follow these steps:
-
Connect the Ethernet port on the DO-1 to the appropriate router using a network cable (RJ45).
-
The DO-1 must now be connected to an external 12-24 VDC power source for proper power supply. For details see Technical Specifications.
-
The device is now available on the network and the user interface can be accessed via the IP address in the browser. This can be done in all common Internet browsers (Google Chrome, Mozilla Firefox, Microsoft Edge or similar).
Accessing the configuration interface
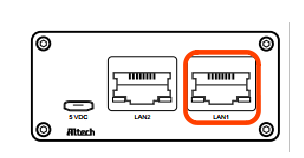
The DO-1 configuration interface can be accessed via DHCP or static IP address assignment. By default, LAN1 is set up as a DHCP client, while LAN2 is assigned the static IP address 192.168.10.10.
- Connect an Ethernet cable from LAN1 on the DO-1 to a LAN segment where there is a DHCP server in place.
-
Use our Device Finder to locate the current IP address of the DO-1. Please read DO-1 Device Finder and follow the described steps.
-
The default web browser installed on your computer will open and display the DO-1 login page:
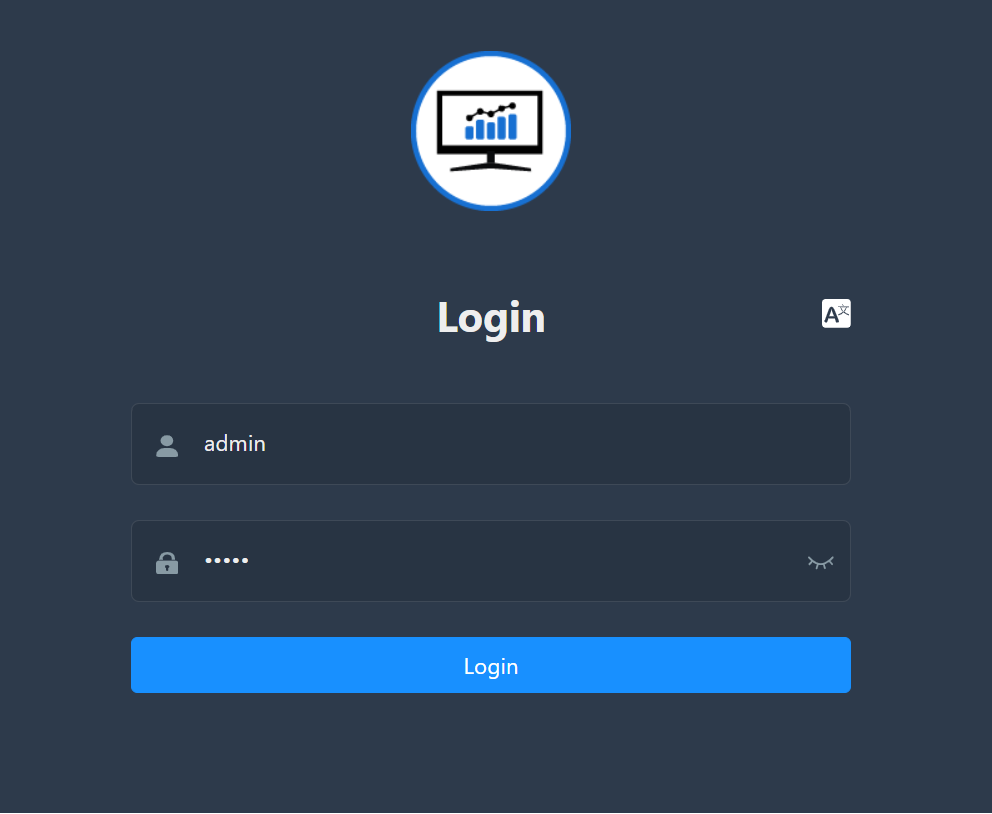
- Type
adminin the Username and Password fields. ClickLogin.
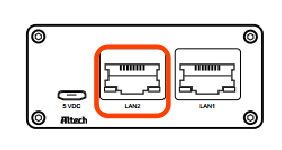
- Connect an Ethernet cable from the Ethernet port on your computer to the port labeled LAN2 on the DO-1.
-
Make sure that your Ethernet adapter is on the same network as the DO-1 (192.168.10.X), if you’re not sure, you can set it to 192.168.10.2 / subnet mask 255.255.255.0, for example.
-
Launch your web browser. Type
http://192.168.10.10in the address field and press Enter (PC) or Return (Mac). The login screen appears.
- Type
adminin the Username and Password fields. ClickLogin.